Project overview:
To create a few simple, low-cost, raised-garden beds.
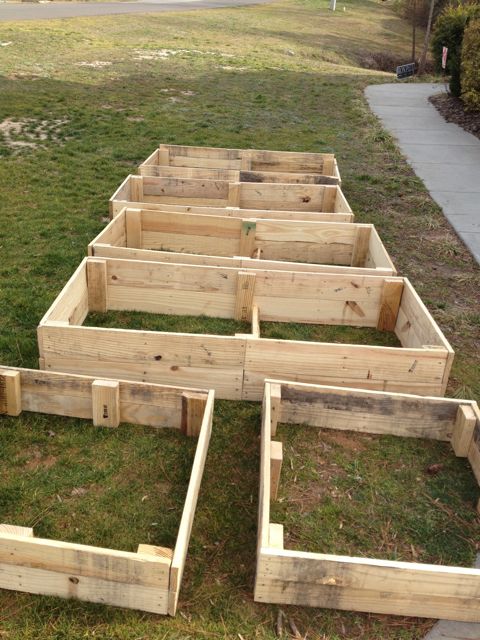
Finished Product
To create your planter boxes you’ll need the following:
Tools:
5 lb baby sledge hammer (short single hand design)
Standard hammer
Wooden pallets, number depending on how many planter boxes you wish to make.
Step One: Break down pallets and remove nails.
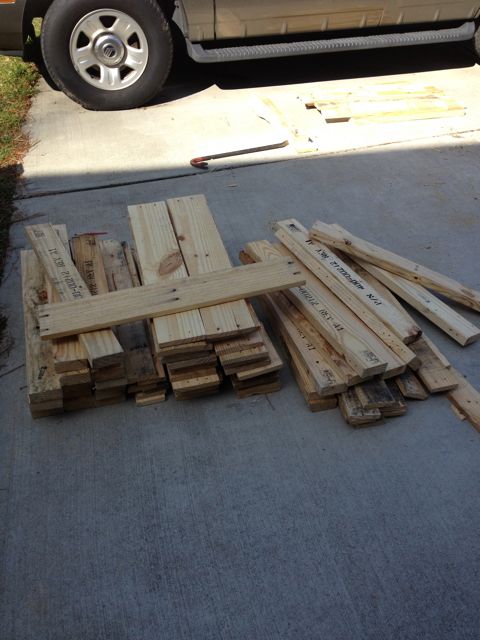
I started with about 15 pallets.
I broke down the first few boards by trying to neatly pry the nails out with a large crowbar. This damaged the wood and took longer than I intended to spend on this project.
Working from the underside of each board I used a small 5 lb short-handle sledge hammer to simply undo everything. This worked very well if you hit the boards evenly to avoid splitting. I only had about 5 boards that were damaged enough to be usable for this project.
Once in single pieces, I used the standard hammer to remove/pry the nails out. If you do this in a driveway like I did, be sure to keep these in a nice pile so you don’t end up with a flat tire.
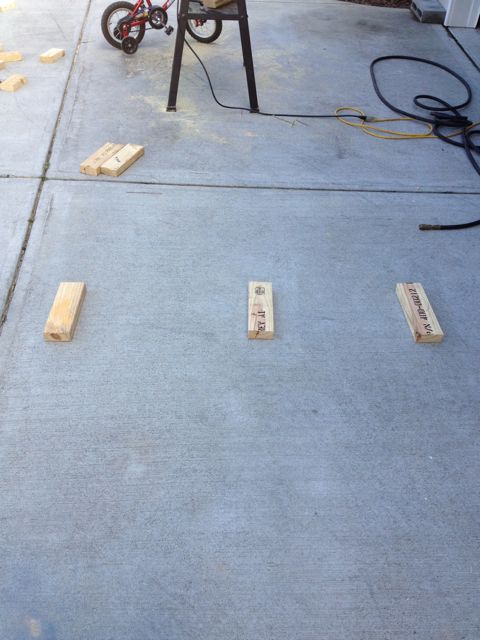
Step Two:
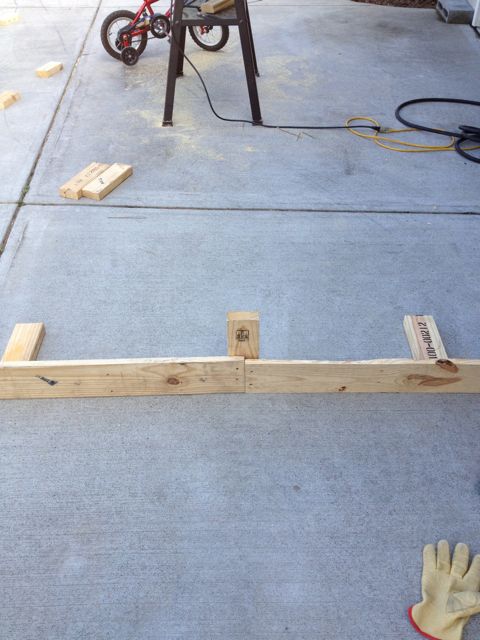
I used a power miter saw to cut the 2′ x 4′ material to the width of 2 long boards from the broken down pallet. These were used as support as well as a base to which the sides would attach. These were roughly 7-8″ in length. I spaced 3 evenly on the ground. The middle segment is what I attached the horizontal sides to.
Step Three:
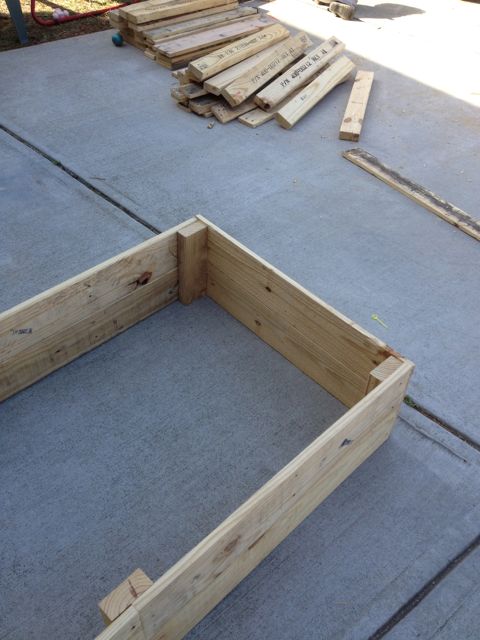
Line up the boards level with the base of the middle 2′ x 4′ support.
Place a single nail in each.
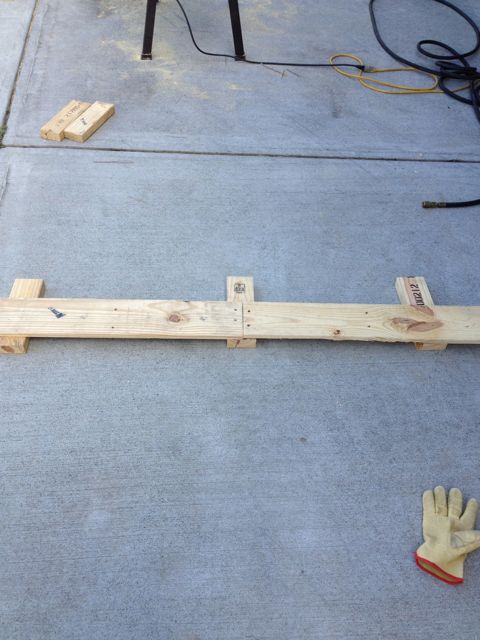
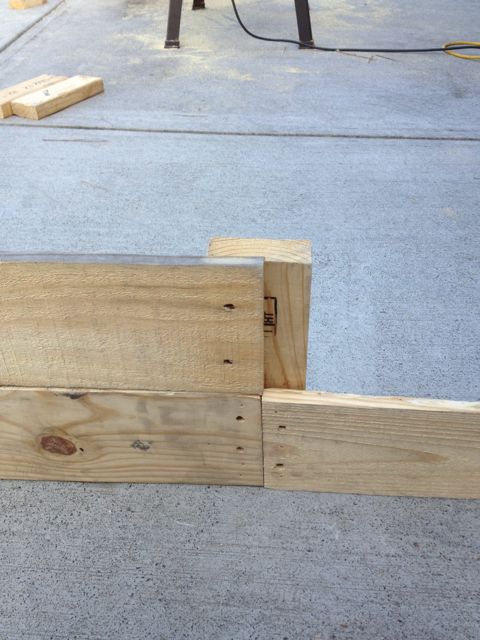
Step Four:
Set the boards up so they lay level with the ground. Once level, put an additional nail or two in the boards to secure them in place.
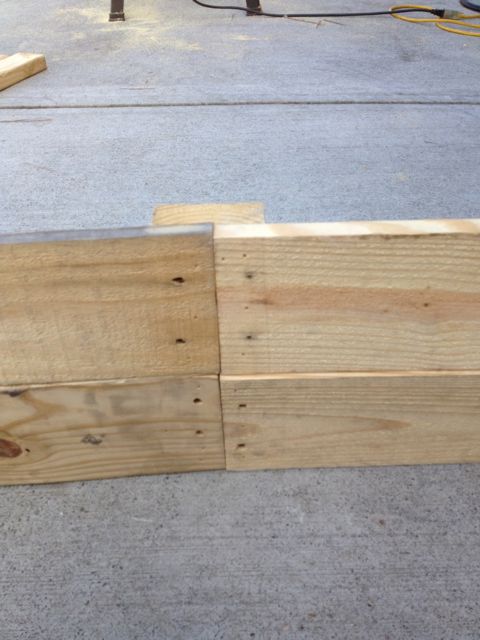
Step Five:
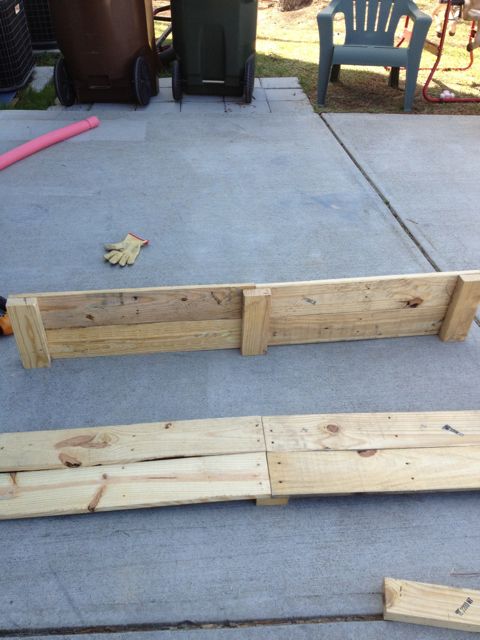
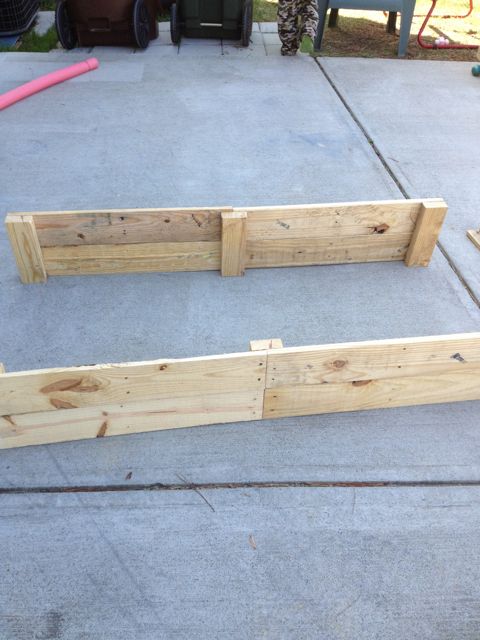
Place another board on each side on top of the bottom board. Nail these in place.
This will give you a double height box. If you want deeper boxes, just increase the length of the support boards and add sides to the desired height.
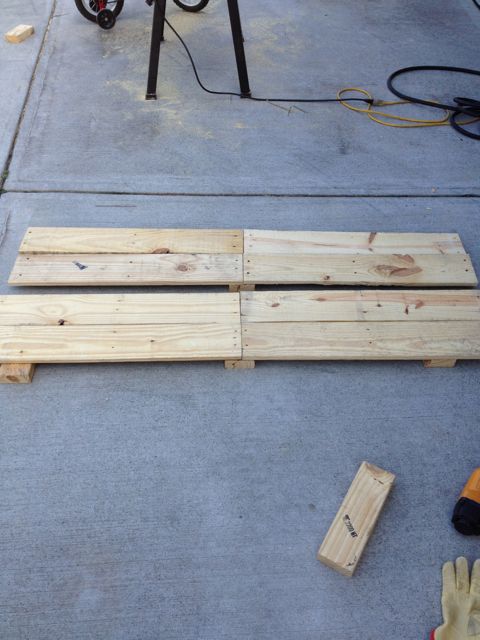
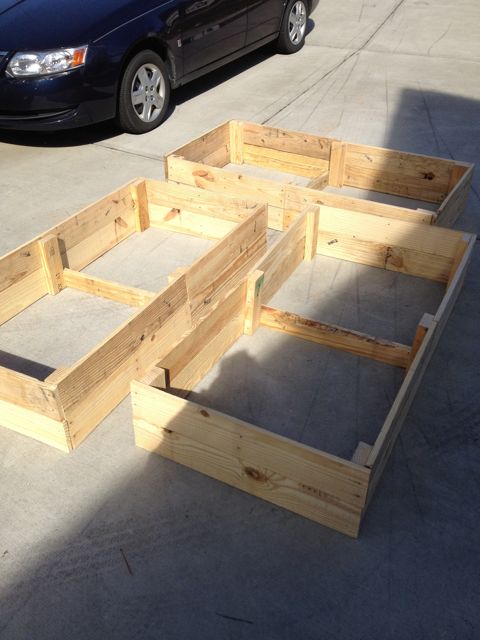
Step Six:
Repeat steps 2-6 and create another side.
Step Seven:
Next attach the corner supports.
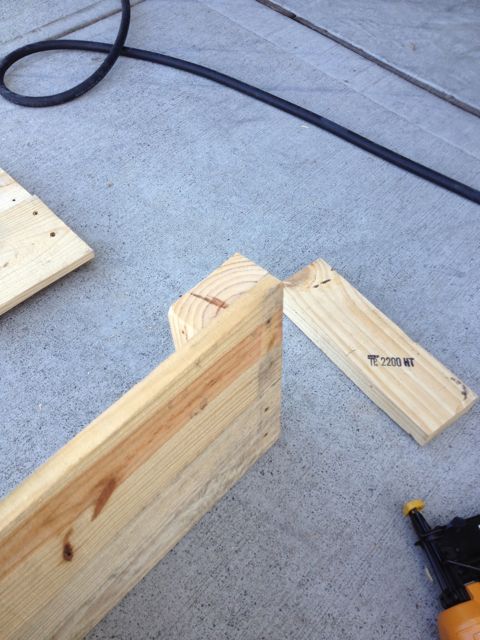
Step Eight:
Repeat step seven on opposite side of rail.
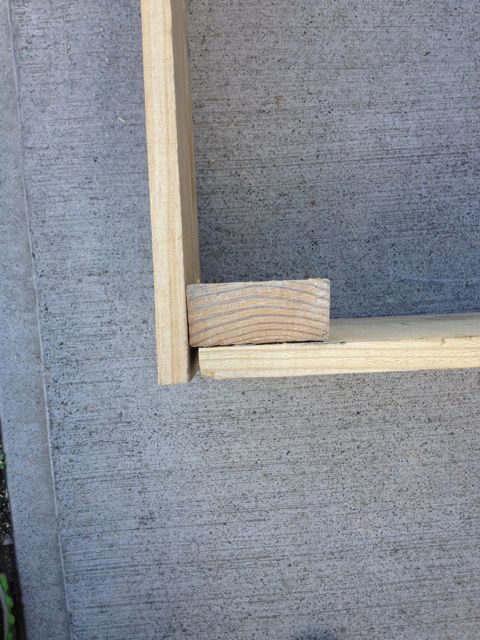
Step Nine:
Repeat steps seven and eight on the other side rail.
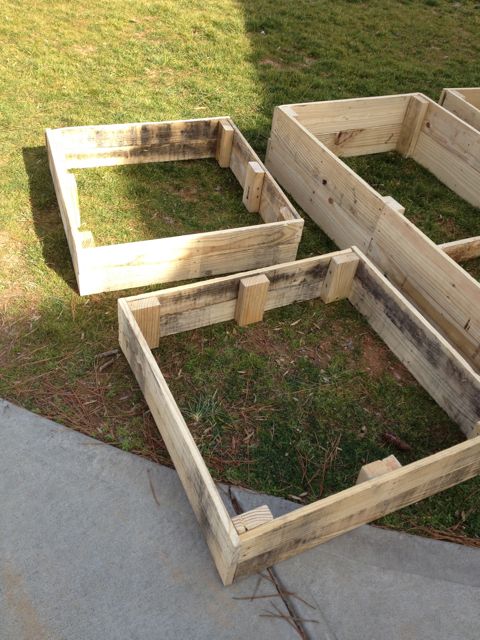
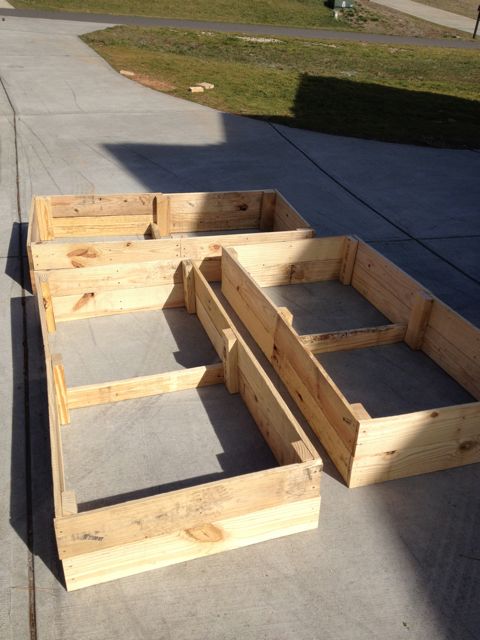
Step 10:
Install two planks on each end, enclosing your raised bed.
Step eleven:
Optional – center support. I took a piece of 2′ x 4′ and secured it in the center for added support.
Once full of soil I wanted to avoid these bulging out in the center.
Half sized square box option if space is an issue.
I ended up building 4 full sized and 2 smaller ones for our boys to experiment/learn with.
These are pretty sturdy as they withstood repeated climbing, standing and stomping on without an issue.
Summary:
Start to finish time: 4-5 hours if you have a nail gun. If you are nailing by hand, slightly longer.
Total cost: “$” – Couple of dollars for nails. 2″ nails worked perfect for this.
Skill level: Easy. The only cutting/measuring was for the 2′ x 4′ supports. This project utilized the existing lengths of wood so it made for a simple DIY project. Very little skill was required and a there was a large tolerance for error; small or medium gaps in the wood and being somewhat unleveled won’t effect the performance of your planter boxes. Happy gardening!