Part 1: Construction
Project: To build a simple flow-through style worm bin.
Introduction:
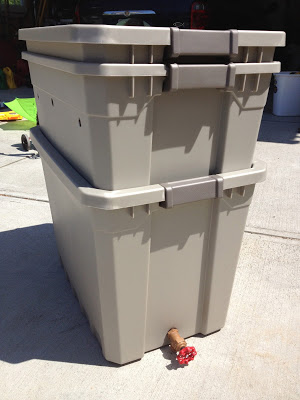
Worms are a wonderful way to speed up the composting process with the added benefit of creating nutrient rich worm castings and tea. This type of flow through worm bin consists of three or more plastic bins or totes. The bottom bin is for collecting the worm tea. The second and third bins are for the composting action. The worms will migrate upward toward the new compost. Once the middle bin has had time to compost and all worms migrated, remove it to harvest the castings. Over time the bottom bin will begin to fill with worm tea. This can be used diluted with water as a liquid-based fertilizer.
This project will be presented in 3 parts:
Part 1: Construction.
Part 2: Worm introduction and basic composting.
Part 3: Worm casting and tea harvesting.
Tools and Supplies:
- Drill
- 3/4 spade (paddle) bit (any size between 1/2″ and 1″ will do.)
- 5/8 drill bit (Any size between 1/4″ and 1/2″)
- Duct Tape
- 3 sqf of nylon screen mesh (same type used for screen used for windows/doors)
- Box cutter or Xacto knife
- 3 plastic totes or bins
- Spigot of some type
I purchased 3 heavy duty hard plastic totes from our local plastic junk super store. These come in all sorts of colors and sizes. Pick a color you like and a size you are comfortable working with. The neat thing about worm bins is they scale from very small shoe box sized apartment containers to huge production bin with billions of worms.
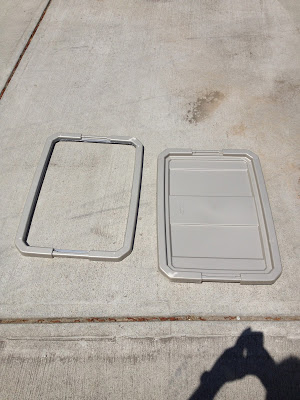
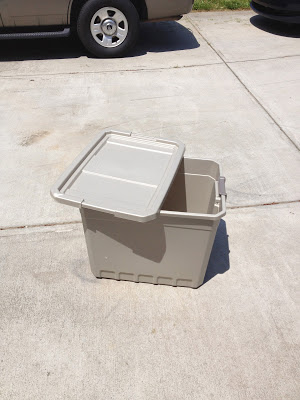
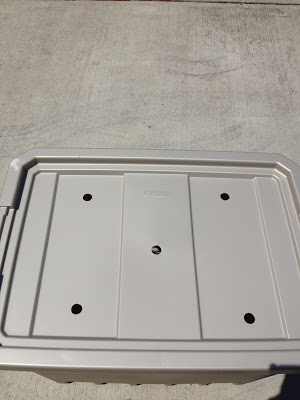
I started by cutting the inside portion of the lid out leaving the rigid outside diameter of the lid in place.
The inside edges were slightly sharp and I wanted to create a gasket of sorts to prevent the tea from evaporating.

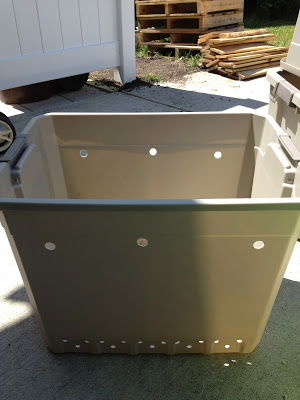
I drilled holes in the bottom of the second tote.
More holes and the bottom is complete.
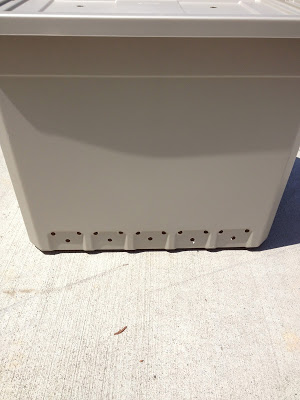
I added a few more along the bottom on both sides of the tote. This should give the liquid plenty of ways to flow downward into the bottom container.
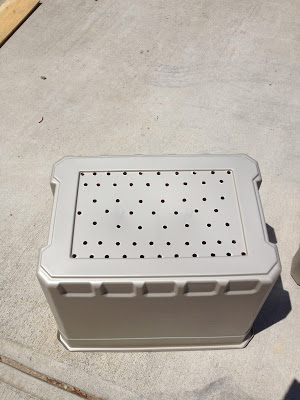
3/4″ holes into the top of the second bin’s lid. These will be used as air vents.
More 3/4″ holes were cut on each side. These will be additional air vents.
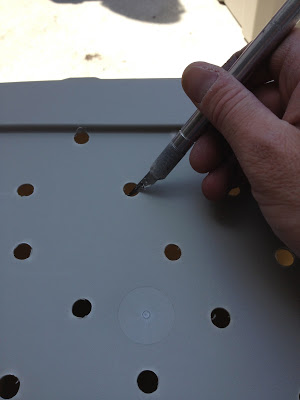
Here I used a knife to clean up the burs created by the drill.
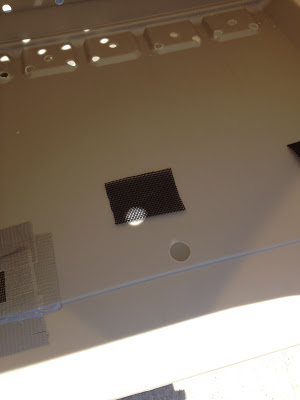
I cut small squares of nylon mesh screen to place on the inside of the tote over the air vents. This will prevent unwanted guests from entering the compost.

I used four strips of duct tape to hold the screen swatch in place.
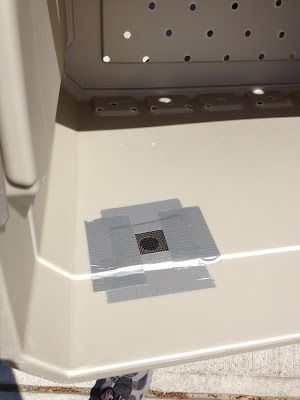
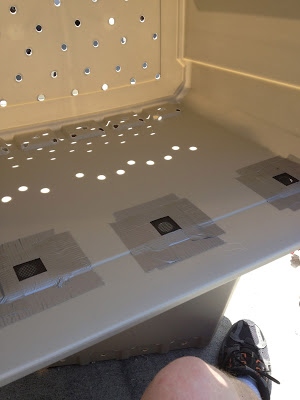
All three holes covered and complete.
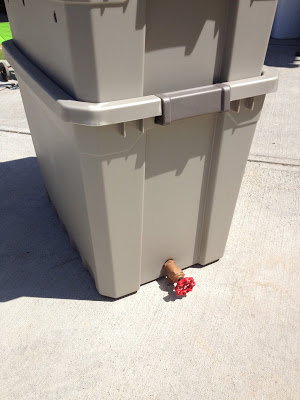
3/4″ hole drilled on the bottom container then I inserted the spigot.
Finished product with all 3 bins sitting inside each other.